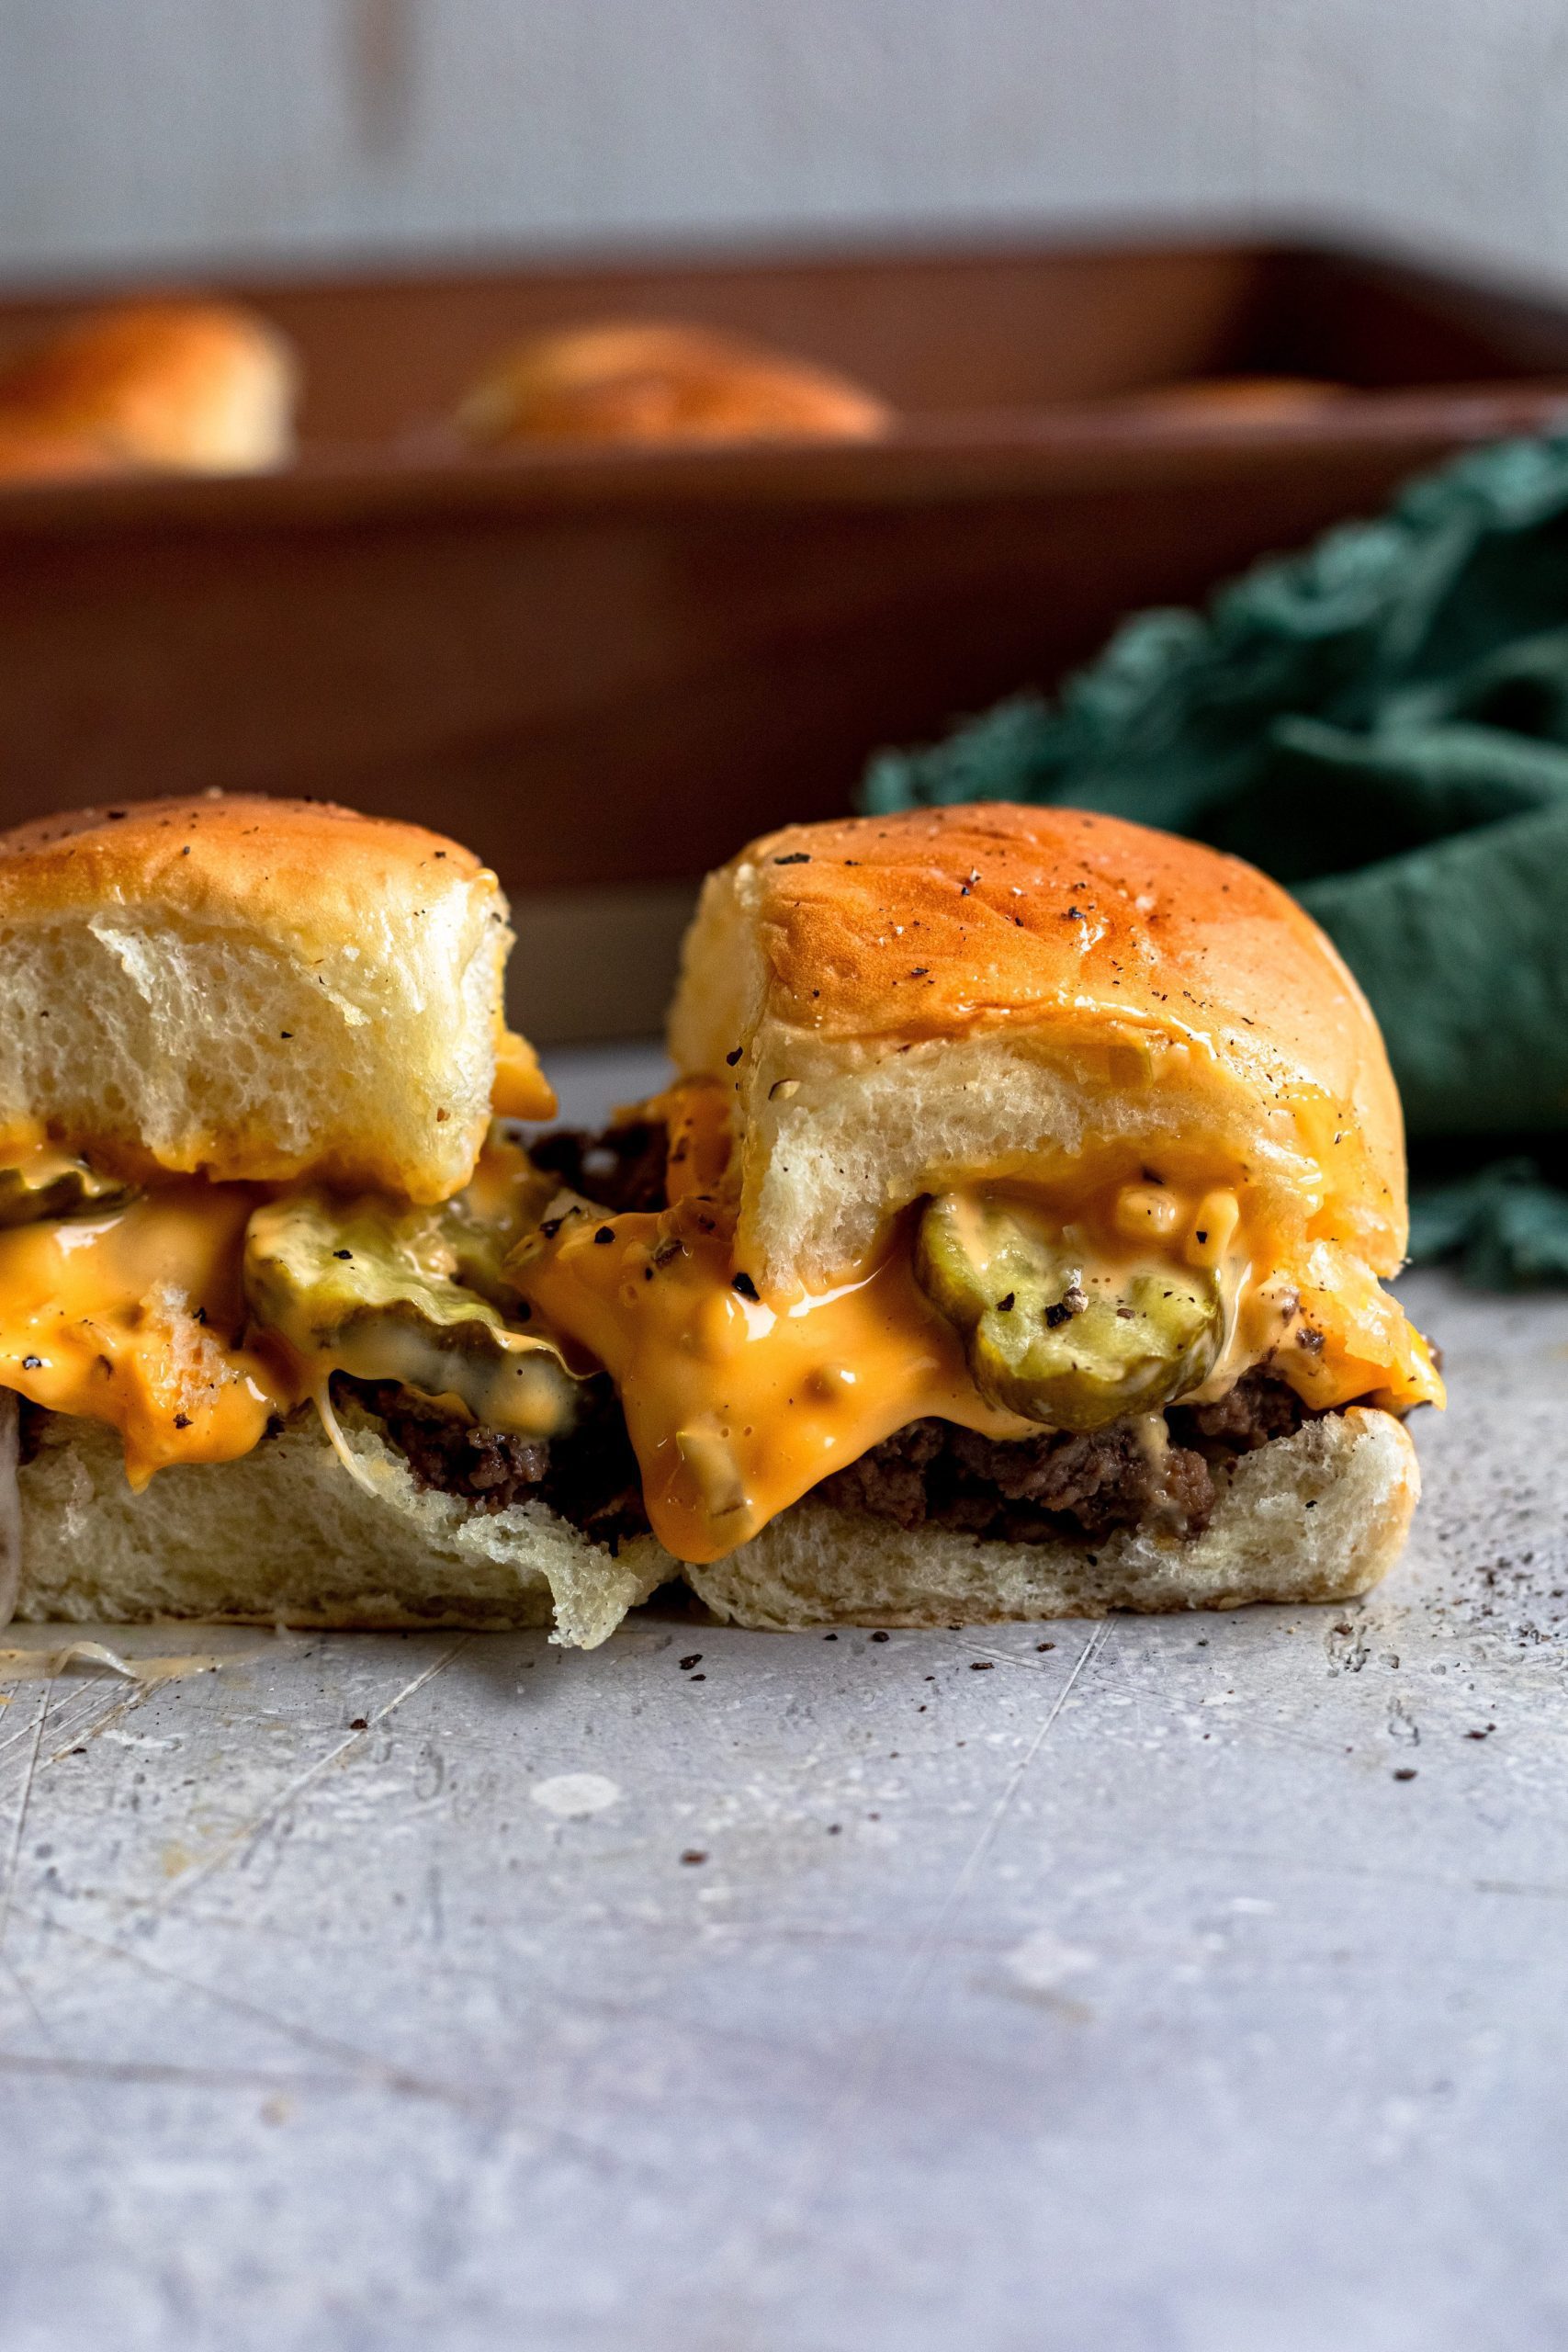
My Baked Cheeseburger Sliders are the perfect finger food! Whether you’re hosting friends or just on the hunt for a fun and easy dinner, these guys are sure to please.
Say cheese!
I love to host friends and family whether it be on game days, for parties or for no reason at all. The Super Bowl is quickly approaching and I can’t think of a better recipe to celebrate it with. These Baked Cheeseburger Sliders are the best game day snack, and I have proof! My husband had to use some serious will power to keep himself from eating the entire tray. So, I would say they are must try. They’re inspired by classic smash burgers, but turned into finger food – why does everything taste better when it’s smaller? This recipe has well and truly cemented itself in my party food rotation!
The best burger toppings are always onion, cheese, pickles and some sort of “special” sauce and I’d say this recipe checks all of those boxes and more. I find that the sweet hawaiian rolls are the perfect balance to the savoury toppings. While it’s a classic flavor combination, it never gets old!
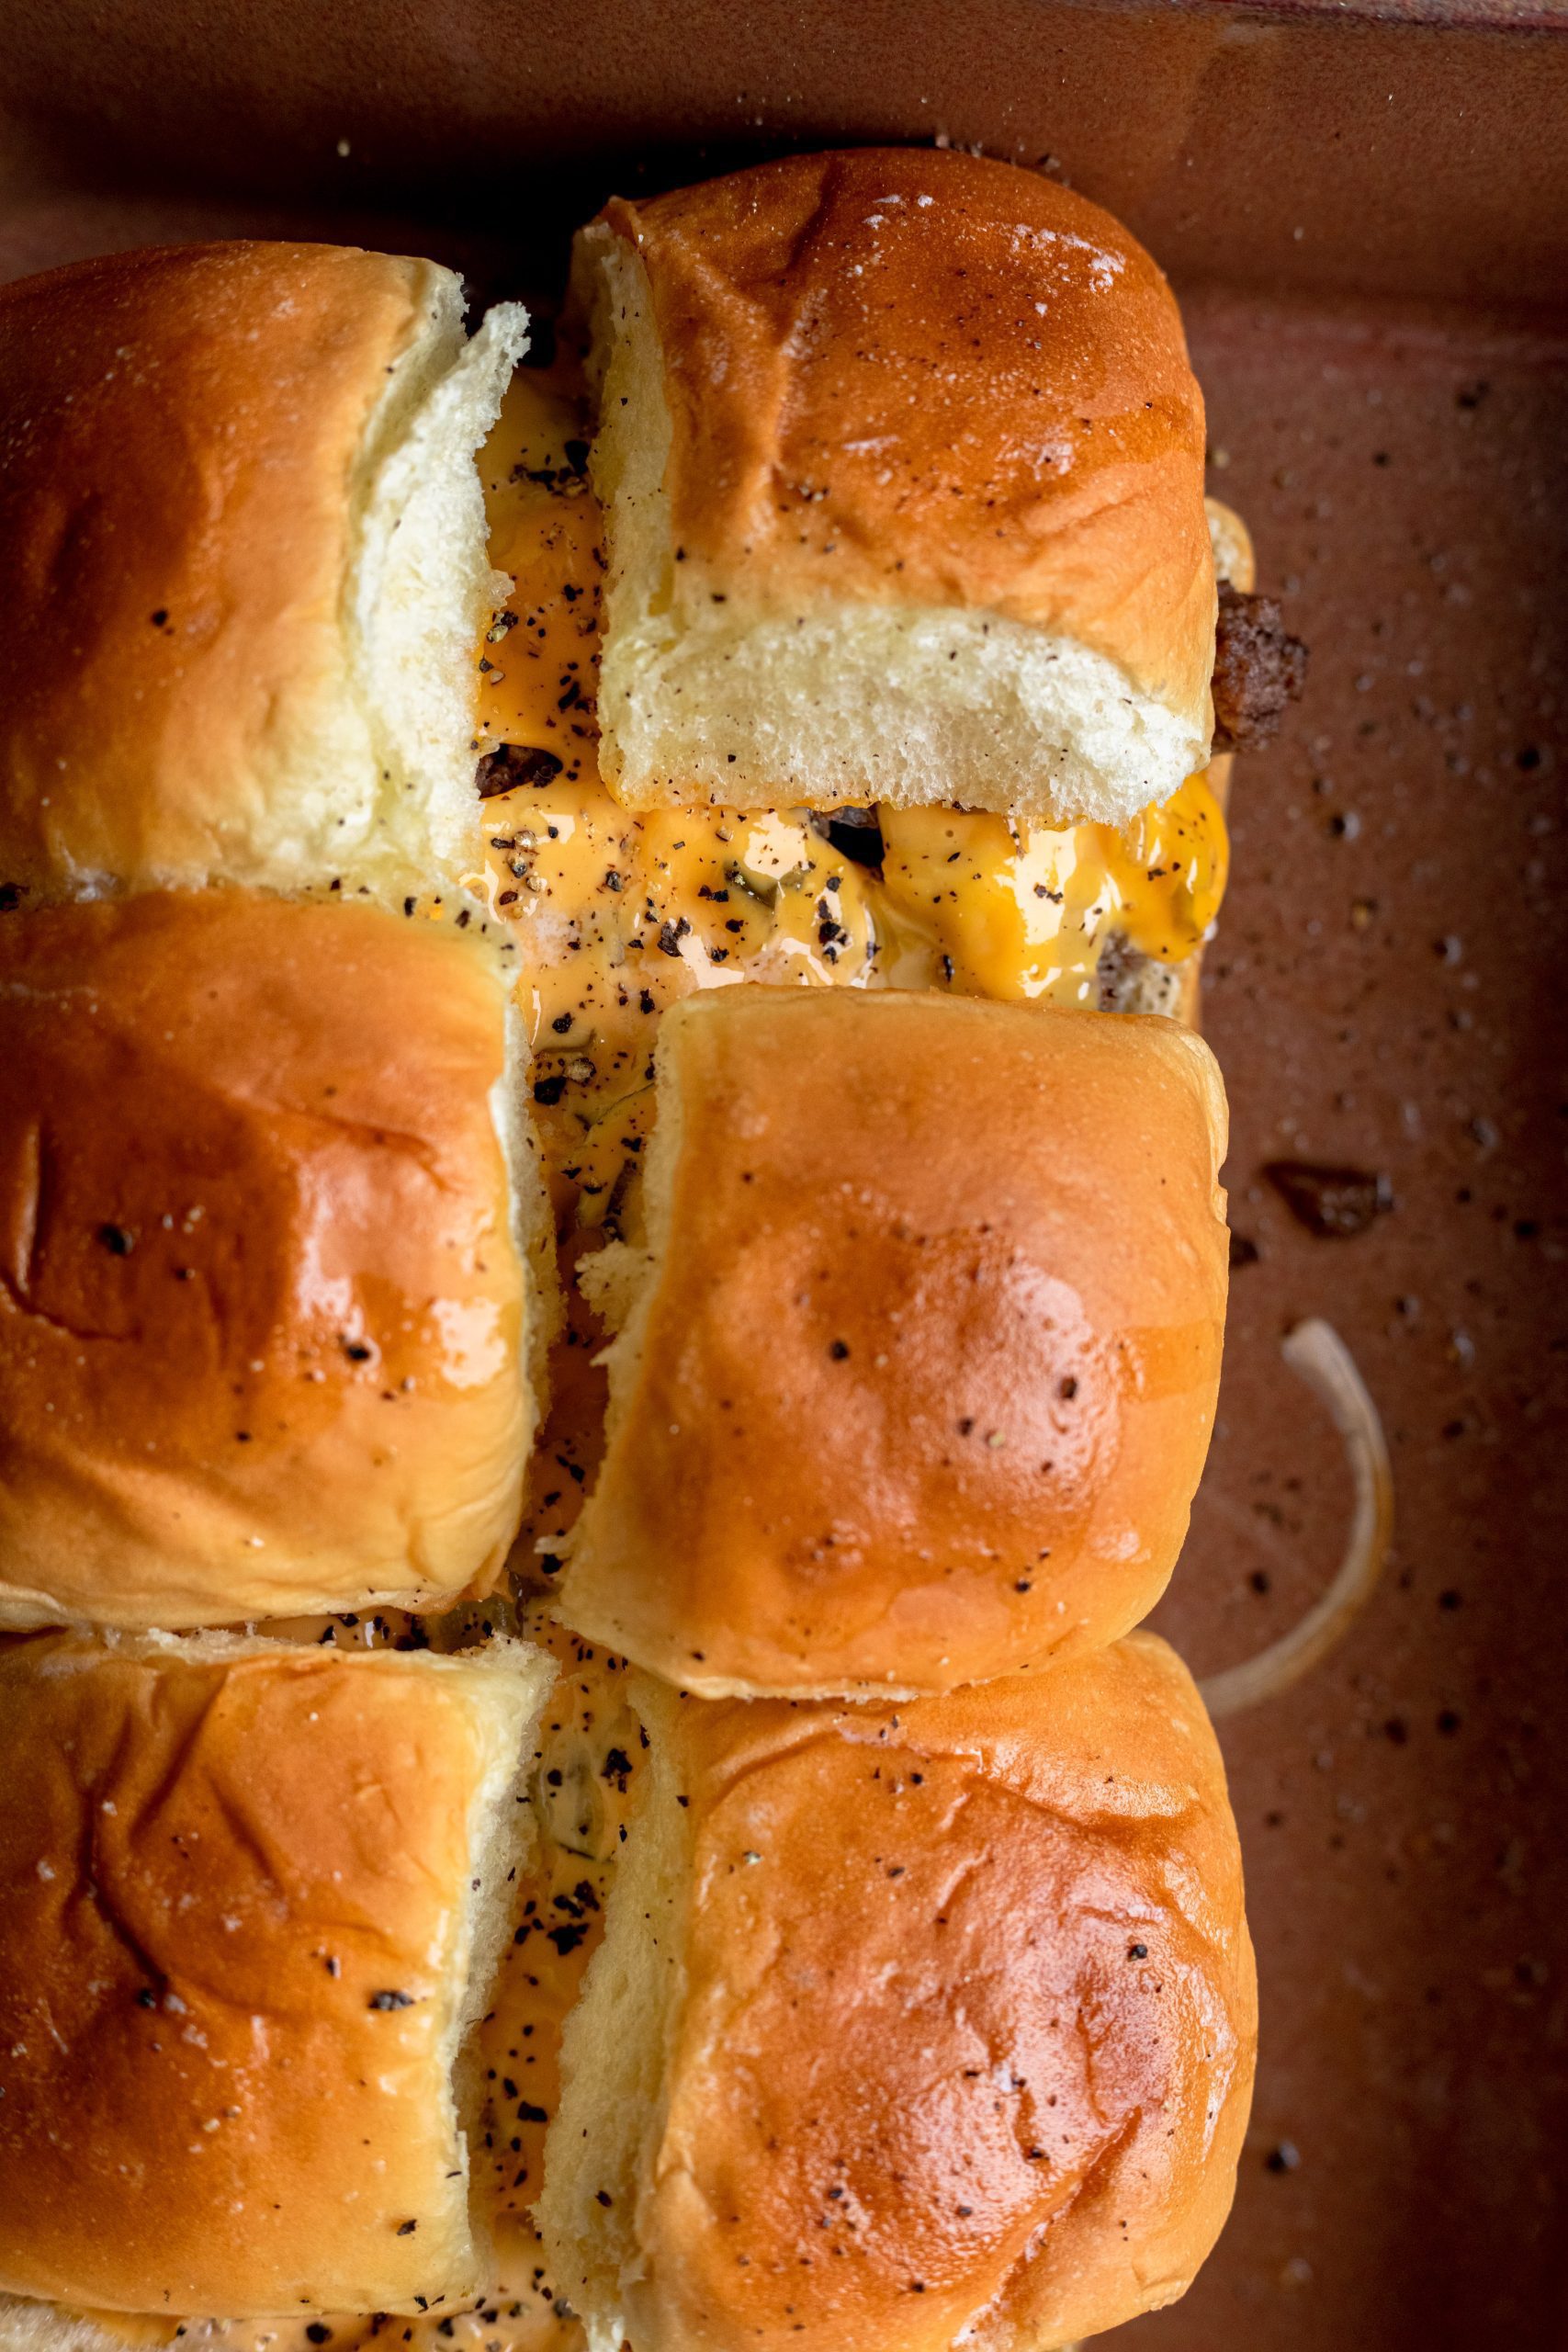
And the best thing about this recipe? You can easily prep them ahead of time and have them ready to go in the oven as you get ready to entertain! They take around 15 mins active prep time and are super low maintenance. Just assemble them in the pan and then brush on the melted butter once you’re ready to bake them. Having them ready the night before will work great, but wouldn’t go much longer than that. Also, you can easily double the recipe if you need more than twelve sliders – I’ll warn you, it is hard not to grab another once you try one of these!
Have ’em your way!
While I’d certainly be delighted to have these served to me, I understand that hosting is challenging and that everyone has different tastes. The great thing about these Baked Cheeseburger Sliders is that they’re so easy to tweak to your (or your guests’) liking. Let’s face it – anything between 2 pieces of buttery bread is gonna be delicious! For this reason, I’ve put together a list of alternative serving options to suit every guest’s tastes.
If you’re looking for something to cater towards vegan or vegetarian friends, you should check out my recipe for Pulled BBQ Jackfruit [3]! The linked recipe is for a pretty small quantity that I served on top of nachos, but you could totally up the measurements and serve this as a meat substitute inside rolls for a similar vibe to the cheeseburger sliders!
If you love the idea of sliders but want to try something different to the traditional burger filling, you could experiment with other delicious meat fillings! Some suggestions I have would be BBQ Pulled Pork [4], Shredded Asian Beef [5], Barbacoa [6] or Salsa Verde Chicken [7]. The world is truly your oyster because, as I said, most things between bread are pretty dang good! I’d love to see your take on sliders – tag me @ DashOfMandi on social media!
What you’ll need:
Sliders
- 12 pack Hawaiian roll sliders, split
- 1 tbsp olive oil
- 1 lb 80/20 ground chuck, ground beef will also work
- 1/2 tsp salt
- 1/4 tsp black pepper
- 1/2 a white onion, very thinly sliced
- 6 slices American cheese
- 12 dill pickle slices
- 1 tbsp melted butter
Burger Sauce
- 1/4 cup mayonnaise
- 2 tbsp ketchup
- 1 tbsp dill pickle relish
- splash of pickle juice
- splash of worcestershire sauce
- salt and pepper to taste
Game plan
- Preheat the oven to 350 degrees F.
- Arrange the bottom half of the rolls in a rectangle baking dish.
- Make the burger sauce by mixing all of the ingredients in a small mixing bowl or container. Cover and refrigerate until ready to use.
- Add olive oil to a large skillet over medium heat. Add the ground chuck and season with salt and pepper. Break up the meat so it crumbles into small pieces. Cook until no longer pink and cooked through then remove from heat.
- Use a slotted spoon (to avoid excess grease) to add the meat on top of the bottom half of the sliders. Make sure the meat is spread evenly on the sliders.
- Add sliced onions, cheese slices, and pickles. Spread on the burger sauce then add the top of the slider buns.
- Brush on the melted butter.
- Cover with foil and bake for 15 minutes. Uncover and bake an additional 2-3 minutes.
- Serve and enjoy!
FAQs
Totally! Just assemble them in the pan and then brush on the melted butter when you’re ready to bake them. For best results, I wouldn’t prepare these any earlier than the night before you plan to serve them!
If you’re looking for something to cater towards vegan or vegetarian friends, you should check out my recipe for Pulled BBQ Jackfruit [3]! The linked recipe is for a pretty small quantity that I served on top of nachos, but you could up the measurements and serve this as a meat substitute inside rolls for a similar vibe to the cheeseburger sliders!
There are also a ton of plant based burger / ground beef alternatives on the market right now, you could absolutely try one of these in place of the meat I used. Same goes for vegan cheese, mayo, etc!
These are best served freshly made, however they are still pretty yummy the second time around. Once fully cooled, you can refrigerate any leftover sliders in an airtight container up to 4 days. Reheat these in the oven at 350 ‘ F for around 15-20 minutes.
Other slider recipes you will love:
- Hawaiian Sliders [4]
- Dijon Chicken Apple Cheddar Sliders [8]
- Ham Cheddar Dill Pickle Sliders [9]
- Air Fryer Burger Sliders [10]
Why not save & pin for later?
Make sure you don’t lose this recipe by saving it for later! Also, for more recipes make sure you’re following me on Pinterest [11], Instagram [12] and like my page on Facebook [13]. If you make this recipe, be sure to leave a star rating and tag me in your pictures!
Print [2]Baked Cheeseburger Sliders
- Total Time: 45 mins
- Yield: 12 sliders
Description
Your guests will be begging for the recipe come half-time! These Baked Cheeseburger Sliders are are sure to please your friends and family.
Ingredients
Sliders
12 pack Hawaiian roll sliders, split
1 tbsp olive oil
1 lb 80/20 ground chuck, ground beef will also work
1/2 tsp salt
1/4 tsp black pepper
1/2 a white onion, very thinly sliced
6 slices American cheese
12 dill pickle slices
1 tbsp melted butter
Burger Sauce
1/4 cup mayonnaise
2 tbsp ketchup
1 tbsp dill pickle relish
splash of pickle juice
splash of worcestershire sauce
salt and pepper to taste
Instructions
- Preheat the oven to 350 degrees F.
- Arrange the bottom half of the rolls in a rectangle baking dish.
- Make the burger sauce by mixing all of the ingredients in a small mixing bowl or container. Cover and refrigerate until ready to use.
- Add olive oil to a large skillet over medium heat. Add the ground chuck and season with salt and pepper. Break up the meat so it crumbles into small pieces. Cook until no longer pink and cooked through then remove from heat.
- Use a slotted spoon (to avoid excess grease) to add the meat on top of the bottom half of the sliders. Make sure the meat is spread evenly on the sliders.
- Add sliced onions, cheese slices, and pickles. Spread on the burger sauce then add the top of the slider buns.
- Brush on the melted butter.
- Cover with foil and bake for 15 minutes. Uncover and bake an additional 2-3 minutes.
- Serve and enjoy!
Notes
These are best served freshly made, however they are still pretty yummy the second time around. Once fully cooled, you can refrigerate any leftover cheeseburger sliders in an airtight container up to 4 days. Reheat these in the oven at 350°F for around 15-20 minutes.
- Prep Time: 15 mins
- Cook Time: 30 mins
Find it online: https://dashofmandi.com/baked-cheeseburger-sliders/ [16]